


They say it's better to be lucky than to be good. We like to think a little of both went into the beginnings of our colaborations with Kenji Lopez-Alt. So how did the relationship begin? That's the story we're here to tell you about right now.
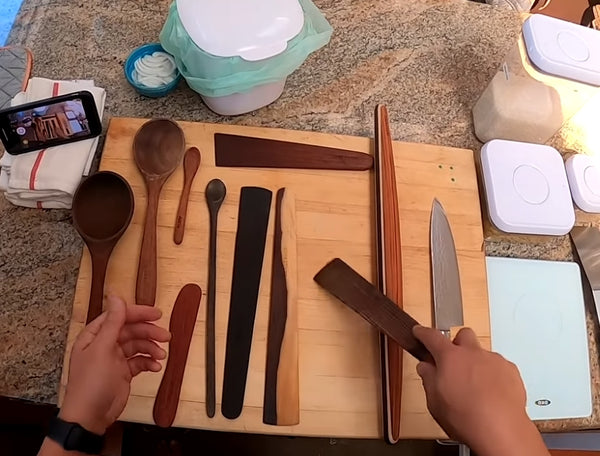
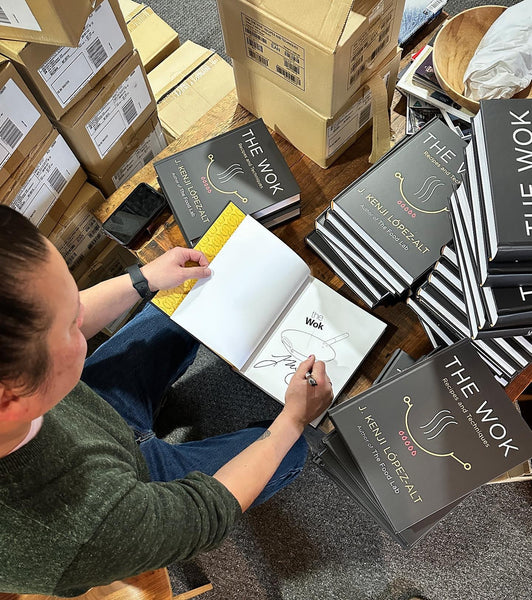
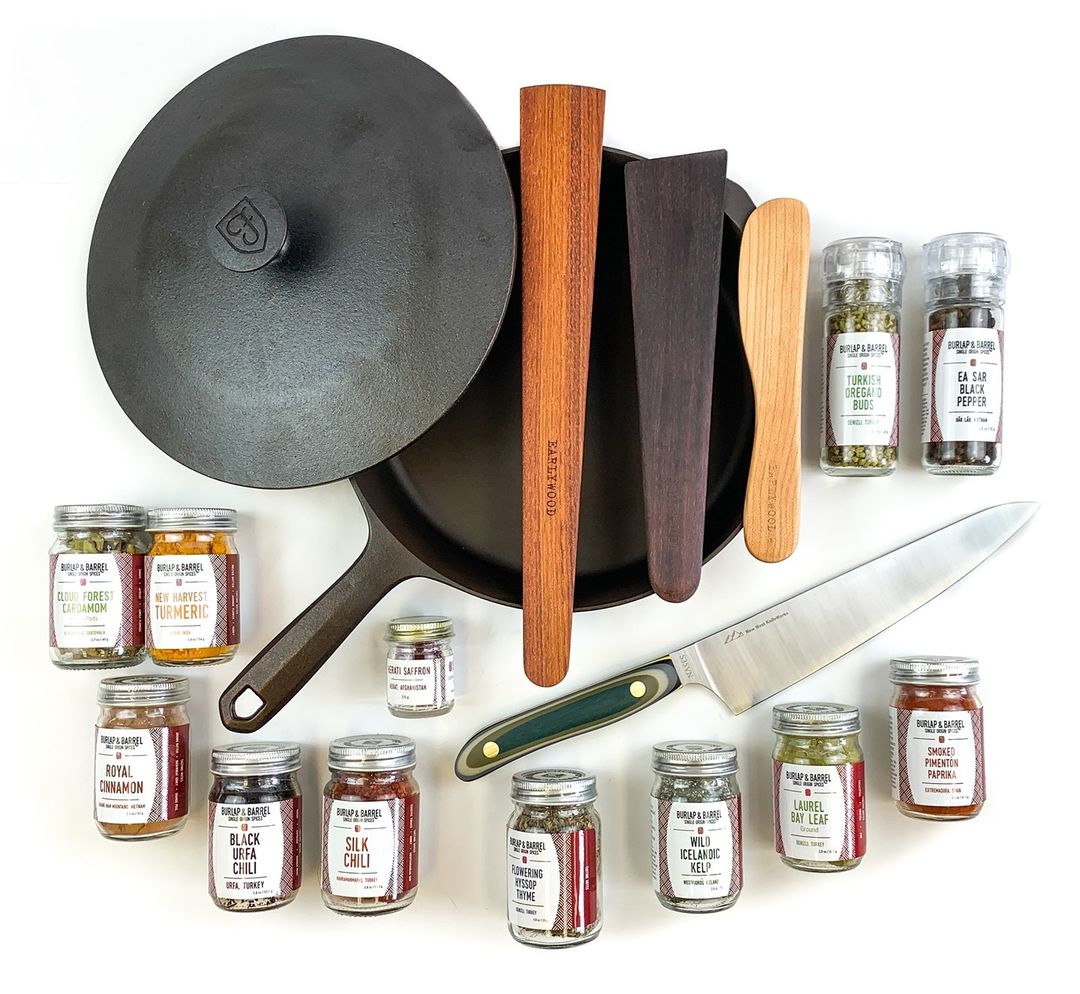
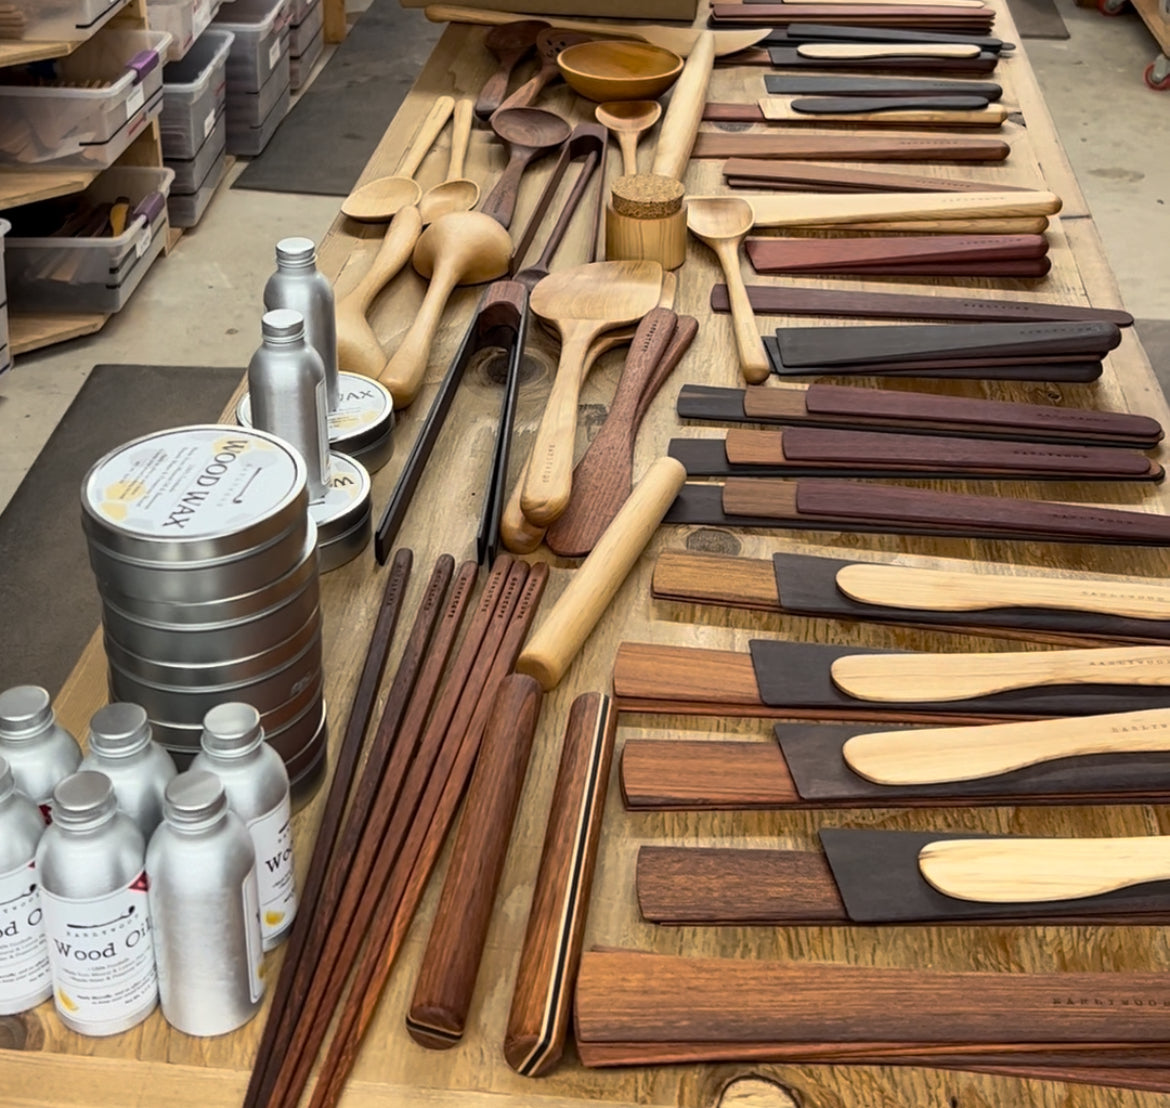
Back in 2015, before we had ever heard of Kenji, we started getting emails from customers saying that we should send some of our utensils to him. If you know Kenji's style, he's very methodical, scientific and meticulous. If you want proof, just check his encyclopedic first book "The Food Lab". Our customers know how much time and effort we put into the tiniest little details of our products and knew that Kenji would appreciate that too.
So, we put a package together and sent them off to Kenji. He is a busy guy and we never heard back from him. We admittedly never reached out to see if he liked them either (chalk that up to starting and growing a business with just a couple of people)!